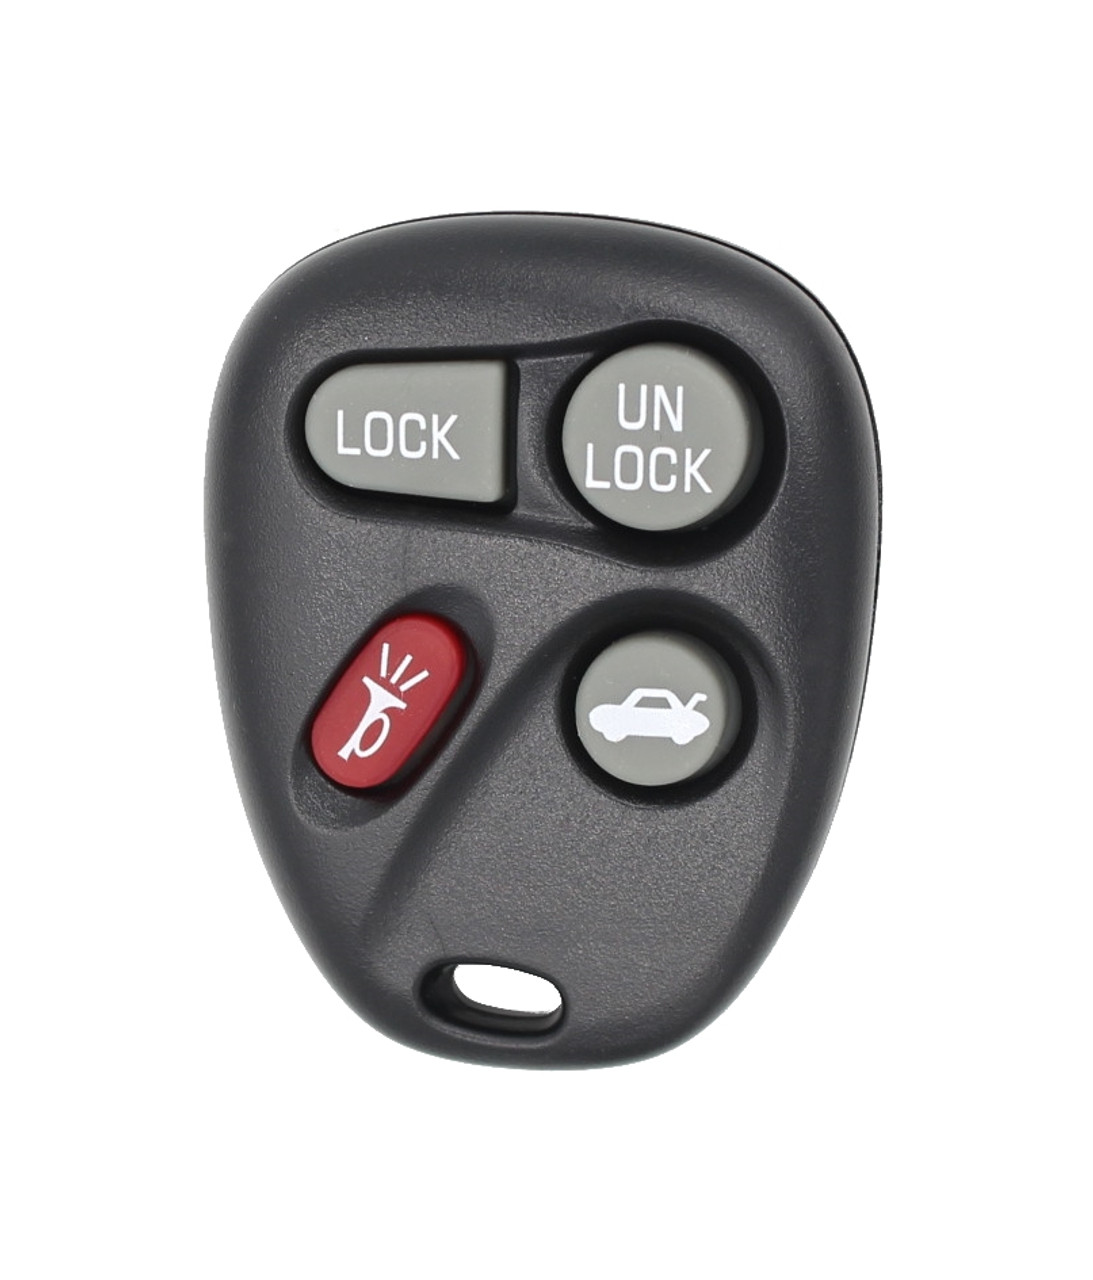
This is a new aftermarket replacement key fob compatible with Chevrolet models listed below. This product meets our quality standards and is guaranteed to work the same as an original.
- 1996-2002 Chevrolet Camaro
- 1997-2001 Chevrolet Lumina
- 1998-1999 Chevrolet Monte Carlo
NOTE: There are two possible programming procedures for Chevrolet vehicles, and a separate procedure for Saturn vehicles.
Chevrolet-Procedure #1
1. Collect all remotes that you wish to program. This procedure will erase all previously programmed remotes. You must program all existing and new remotes that you wish to use on the vehicle at this time.
2. Locate programming connector on the passenger side of the trunk. Remove any trim or carpeting to access the connector. Connector will be close to the tail light Connector is a port connected to a black and white wire. Connector will not be connected to anything.
3. Next you must jump the programming connector. You may use a jumper wire or paper clip. First make contact to the metal connector inside the port with the paper clip or wire. Next touch the other end of the wire or paperclip to a metal surface of the car or bolt.
4. Locks will cycle from lock to unlock signaling entering of programming mode.
5. Press and hold lock and unlock together on a remote. Locks will cycle again and this remote has been successfully programmed. Repeat this step for any additional remotes.
6. Remove jumper wire or paper clip to exit programming mode.
Chevrolet-Procedure #2
1. Remove Radio fuse box. Fuse is numbered 17.
2. Turn the key from Off to Run position three times (ending in run). Do not start the car. Locks will cycle from lock to unlock signaling entering programming mode.
3. Hold Lock and Unlock on the remote being programmed. Doors will cycle again signaling successful programming. Repeat this step for any additional remotes.
4. Turn off ignition. Replace radio fuse.
Saturn-Procedure
1. Collect all remotes that you wish to program. This procedure will erase all previously programmed remotes. You must program all existing and new remotes that you wish to use on the vehicle at this time.
2. Locate the Data Link Port underneath the driver side dashboard use image above for reference.
3. Jump terminal 8 to terminal 4. Use a jumper wire or bent paper clip to connect the two ports. Locks will cycle to confirm programming.
5. Press and hold lock and unlock button on the remote being programmed. Hold until the locks cycle again signaling successful programming. Repeat this step for any additional remotes.
6. Remove the jumper wire or paperclip to exit programming mode.
An aftermarket remote or key is a product that is not associated with the brand of your vehicle. Because of this, they tend to be a bit cheaper than remotes and keys that come from your vehicle's manufacturer.
An aftermarket product will still sync up to your vehicle and work just like a regular remote or key, it just won't have your vehicle's logo.


